Learning how to install a dimmer switch can instantly elevate your home’s ambiance while improving energy efficiency. With a dimmer switch, you gain control to set the perfect lighting for every occasion—whether it’s a dinner party, movie marathon, or a cozy reading corner. The best part? Installing a dimmer switch is easier than you might think.
Here’s what we’ll cover in this guide:
- Tools and materials you’ll need for installation.
- Step-by-step instructions to safely connect and test your dimmer switch.
- Important safety tips and wiring guidance specific to dimmer switches.
Follow this DIY guide to take your home lighting to the next level.
Tools and Materials You’ll Need
Before you begin, gather all the tools and materials needed for the dimmer switch installation process. Here’s what you’ll need in your toolbox:
- Flathead screwdriver
- Phillips screwdriver
- Voltage tester
- Wire strippers
- Electrical tape
- Dimmer switch (make sure it’s compatible with your light bulbs)
- Wire connectors
Having these tools on-hand will ensure a smooth installation process without interruptions.
Safety Considerations Before Installation
Working with electricity requires precautions to protect yourself and your home. Before you start replacing an existing light switch with a dimmer switch, keep the following in mind:
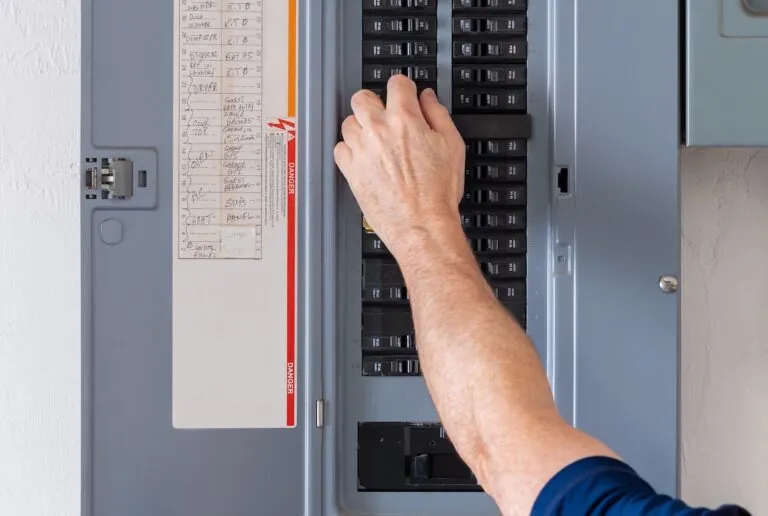
- Turn Off the Power: Always switch off the circuit breaker to the room where you’ll be working. Double-check using a voltage tester to ensure power is off before proceeding.
- Know the Load Rating: Ensure the dimmer switch can handle the electrical load of your light fixtures, especially if you have multiple bulbs.
- Choose the Right Switch for Your Bulbs: Dimmer switches may be designed for incandescent, LED, CFL, or halogen bulbs. Be sure to select one that’s compatible with your fixtures to avoid flickering or damage.

Step 1: Preparing for Installation
Identifying the Type of Circuit
Dimmer switch installation differs slightly depending on whether you’re using a single-pole or 3-way circuit. Here’s a quick overview:
- Single-Pole Circuit – Controls a light from one switch. Ideal if you’re installing a dimmer for a single location.
- 3-Way Circuit – Allows you to control lights from two different locations (e.g., top and bottom of a staircase). Ensure your dimmer is labeled as “3-way compatible” if your circuit uses this setup.
Removing the Existing Switch
- With the power off at the breaker, unscrew the existing wall plate and remove the screws securing the switch to the electrical box.
- Carefully pull the switch away from the wall to expose the wires.
- Use your voltage tester to ensure none of the wires are live.
Step 2: Wiring Your New Dimmer Switch
Connecting the Wires
Dimmer switches typically feature 3 or 4 wires:
- Black wire(s): Hot wire(s) that provide power from the circuit.
- Green or copper wire: Ground wire.
- Red wire (optional): Additional traveler wire for 3-way circuits.

Carefully follow these steps to connect the wires:
- Attach the Ground Wire: Locate the green or bare copper wire from your wall and the dimmer switch. Connect them using a wire connector.
- Connect the Hot (Black) Wires: Match the black wire from the dimmer switch with the hot wire in the wall. Secure them together with a wire connector.
If you’re installing a 3-way dimmer, also connect the red wire from the dimmer switch to the traveler wire in your circuit.
- Tidy Up the Load Wires: Once connected, carefully tuck the wires back into the wall box, ensuring none are exposed.
- Secure the Dimmer: Use screws to mount the dimmer switch to the electrical box. Attach the new faceplate for a clean finish.
Step 3: Testing and Troubleshooting
- Restore Power: Turn the circuit breaker back on.
- Test the Dimmer: Flip the dimmer on and slowly adjust to verify the lights respond correctly. Check for flickering or uneven dimming, which could indicate compatibility issues with your bulbs.
- Troubleshoot Common Issues:
Bulbs Flickering? Try replacing incompatible bulbs with ones suited for dimmer switches.
Dimmer Getting Warm? Slight warmth is normal, but excessive heat could indicate an overloaded switch. Verify the load capacity.
Step 4: Maintenance Tips
To prolong the life of your dimmer switch, follow these tips:
- Dust the switch and plate periodically to prevent buildup.
- Avoid overloading the circuit with bulbs that exceed the wattage rating.
- Replace worn or outdated switches to maintain optimal function.

The Benefits of a Dimmer Switch
Now that you know how to install a dimmer switch, consider the long-term benefits they bring to your home:
- ⚡️ Energy Efficiency: Dimming reduces the brightness—and power consumption—of your bulbs, saving money on your energy bill.
- 💡 Extended Bulb Life: Less wattage means your light bulbs last longer compared to traditional switches.
- ⭐️ Improved Ambiance: Easily set the mood for any space, whether you want bright task lighting or a soft, cozy glow.
Why Genz-Ryan is the Team You Trust
Electrical projects like this can seem intimidating at first, but taking it step by step makes it manageable. That said, not everyone has the time or tools to safely tackle wiring projects. That’s where Genz-Ryan comes in!
With years of experience and a reputation for quality workmanship, we’re your trusted partner for all things home improvement—whether it’s electrical upgrades, plumbing, or HVAC solutions. Our team of licensed professionals is here to help you tackle projects of any size with confidence and care.
Contact us today! We’ll ensure your home is not only well-lit but also safe and functional.